This is the essence of my Imperial fleet doctrine for Wave 1:
- Close with the enemy as quickly as possible
- Pin them in against the board edges and your fleet, to force bad choices
- Use navigate commands to outmanoeuvre the enemy
Let's take these points in turn.
Close with the enemy
As noted above, the Rebels love to shoot and scoot. Sitting at range and trading red dice is a guaranteed losing strategy for three reasons.
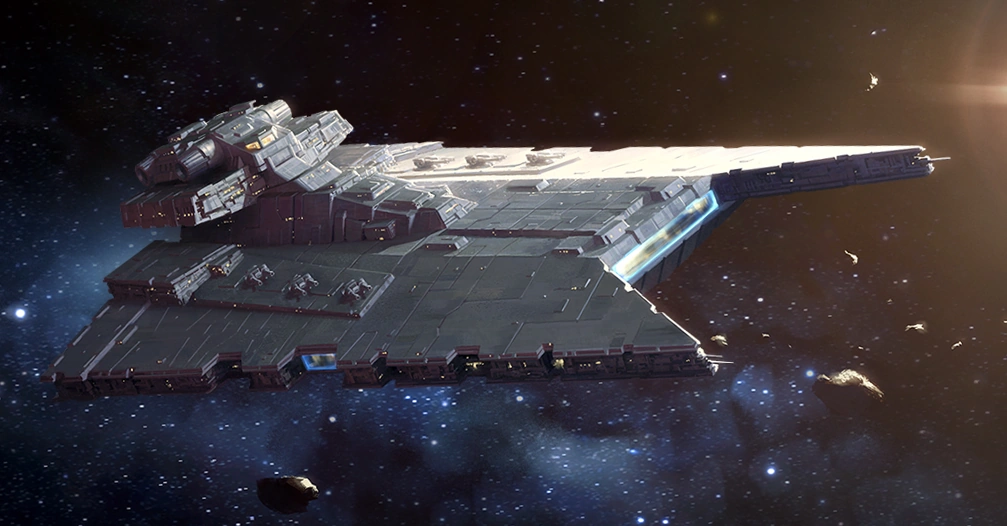
1) Damage output - a Victory class star destroyer puts out 3 red dice at maximum range. This is the same as a Nebulon-B or basic Assault Frigate. Gladiators are even worse, with 2 red dice equivalent to a corvette. Point for point, the Rebels will outshoot in red dice.
2) Evade - the Rebels have evade on all of their ships (except the forthcoming MC80). Rolled a double hit on that long range fire? You can say goodbye to that. The Victory has no such ability, and must eat the damage instead. Although the Gladiator can evade, you don't seriously want to keep it at long range!
3) Speed - the Rebels can quickly dial up the speed, with all the current ships in their fleet able to go at speed 3. At long distance, it is much easier for your opponent to slip out of range than when you have parked your star destroyer right next to them.
All in all, trading shots at range is a losing proposition for the Empire.
Pin them against the board edges and your fleet
 |
| The Imperial fleet tries to trap the Rebels |
I like to deploy in such a way (usually close-ish to a corner) that the Rebel opponent is forced to flank either around the short table edge or near my deployment zone. This allows you to navigate your fleet in such a way that they have two choices:
1) Cut close to the board edge, and risk flying off. This has happened on several occasions, when the Rebels have tried to slip past at too high a speed. Free dead enemy ship = win!
2) Cut close to my fleet, and face the barrage of firepower from my forward arcs of my Victorys.
Although the latter choice doesn't guarantee a kill, it does mean that when I park Demolisher on the line of advance for the Rebels it will normally find a wounded target to finish off.
Navigate commands
 |
| Those slippery Rebels outpace the Imperial fleet again |
When I first started playing Armada, I thought this was the most lame command. I wanted more dakka, steering was for wimps! Now I think it is the best, especially for the Empire for a couple of reasons:
1) Unpredictability - normally the Victory class in particular is the most obvious and slow moving object in the game. By varying speed and yaw, it allows you to be where your opponent doesn't expect. Thought you could slip past my side flank, huh? Too bad.
2) Lining up shots - ensuring you have the greatest flexibility on your move means you can line up much better arcs for your next shot. Concentrate firepower gives just one extra die. A well timed navigate command can ensure you bring in the best arc (Victory front, Gladiator side) and likely a second arc too.
In summary, my Imperial doctrine boils down into a few key principles.
- Engage the enemy at favourable range for your match-up
- Seek to box in your enemy where possible and force bad choices
- Navigate, navigate, navigate - who wins the battle of manoeuvre wins the battle
That's all for now folks, hopefully that is an interesting insight into my gameplay philosophy.
No comments:
Post a Comment